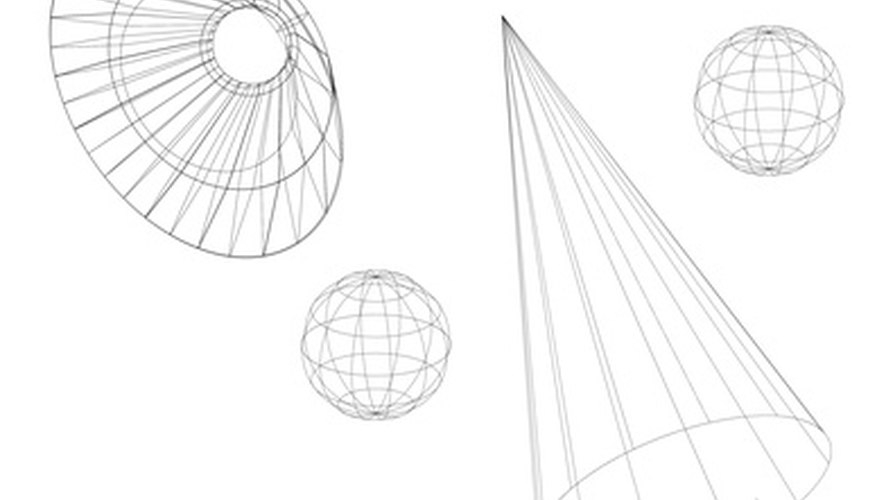
When working with 3D images in Adobe Photoshop (CS3 Extended, CS4 Extended, and CS5), you can render an object into a variety of wireframe models. Wireframes reveal the underlying structure (the skeleton) of the objects your are working with. The rendering will be specific to the layer you have selected, so if you have 3D objects in multiple layers, it will be necessary to render each of them individually.
Convert image to a 3D layer. If you are already working with a 3D object, skip this step. Otherwise, you will need to convert your image into a 3D layer. Several options exist depending on what your purposes are. To convert your image into a 3D shape, open your image, then choose "3D > New Shape from Layer." This will prompt you to select from the shapes available, which include cone, cube, sphere, etc. Converting your image into a 3D shape will distort your image significantly, so often the best way to begin is to simply fill your canvas with a single colour, then convert it into a 3D layer. The effect will be to create the shape of your chosen colour in empty space. You can also convert your image into a 3D postcard (essentially turning the 2D image into an independent plane which can be moved in space) by choosing "3D > New 3D Postcard From Layer." You can also convert your image to grayscale ("Image > Mode > Grayscale") and convert the entire layer into a 3D mesh (essentially a depth map corresponding to light values) by selecting "3D > New Mesh From Grayscale," and selecting one of the shapes.
- When working with 3D images in Adobe Photoshop (CS3 Extended, CS4 Extended, and CS5), you can render an object into a variety of wireframe models.
- You can also convert your image to grayscale ("Image > Mode > Grayscale") and convert the entire layer into a 3D mesh (essentially a depth map corresponding to light values) by selecting "3D > New Mesh From Grayscale," and selecting one of the shapes.
Edit your object. Once you have your 3D object, you can position it on the canvas. Select the 3D tool located on the lower portion of your toolbar. The tools you can choose from include rotate, roll, pan, slide, scale, and more, depending on which version of Photoshop you are using. You can also use any of the standard Photoshop tools here to paint, crop, add text, etc. Remember though that many of these alterations may be lost in the transfer to wireframe.
- Once you have your 3D object, you can position it on the canvas.
- The tools you can choose from include rotate, roll, pan, slide, scale, and more, depending on which version of Photoshop you are using.
Open 3D window. Select "Window > 3D."
Choose render settings and render. In the 3D window, press the scene button, which is at the top left of the window and shows several boxes connected by lines. A little below you will see the word "Preset," and beside it, "Custom Render Settings." Click the arrow beside this and a list of render presets will be displayed. Besides standard wireframe, you will be able to choose from a hidden wireframe, a line illustration, vertices and shaded vertices, shaded wireframe, and more. There is also a button reading "Render Settings" which will allow you to modify the presets to better fit your purposes.
- Choose render settings and render.
- There is also a button reading "Render Settings" which will allow you to modify the presets to better fit your purposes.
Personalise your settings. If you have created a custom render setting you may save it in the "Render Settings" window by clicking the disk icon. You can delete a preset by selecting it and hitting the dustbin icon.
