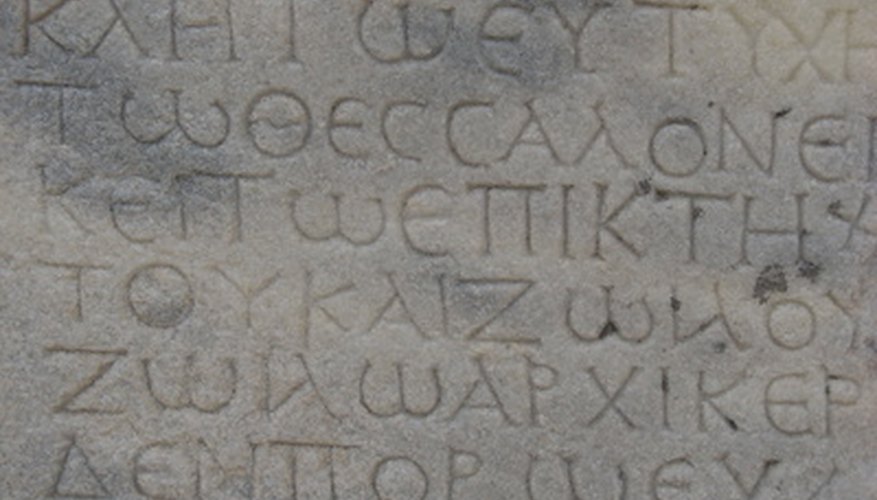
Adobe Photoshop is a useful tool for combining text elements with photographs to create new graphics. The program offers a large variety of effects and blending options that help users incorporate their text into photos and other digital art. Creating a sinking effect on type is as simple as adding a couple of quick blending options to your text.
- Adobe Photoshop is a useful tool for combining text elements with photographs to create new graphics.
- Creating a sinking effect on type is as simple as adding a couple of quick blending options to your text.
Create a new document in Photoshop by opening the program and selecting "File > New." Set your preferred dimensions in the resulting dialogue box and click "OK." Alternately, you can open an existing document by selecting "File > Open."
Select the "Type Tool" from the Tools Panel to the left of your canvas and set your font, size, colour and other text settings in the Tool Options Panel above the canvas.
Click on the canvas and type the text you want to display. Reposition your text as desired by clicking and dragging anywhere on the canvas outside of the text.
Select the "Layers" palette to the right of the canvas and click on the "fx" icon at the bottom of the palette. This brings up a drop-down displaying different blending options for the layer you are working on, which is the text layer in this case.
Click "Inner Shadow." A dialogue box opens showing options for how your inner shadow will be displayed. Set the "Blend Mode" drop-down to "Multiply" and make sure the colour swatch to the right of the drop-down is black. Set the "Opacity" slider to 75 per cent to start. Set both the "Distance" and "Size" sliders to five pixels. You can go back any time and adjust these settings as necessary to achieve the most natural sinking look possible, but these settings are a good starting point for creating a sunken look for your text.
- Select the "Layers" palette to the right of the canvas and click on the "fx" icon at the bottom of the palette.
- Set the "Blend Mode" drop-down to "Multiply" and make sure the colour swatch to the right of the drop-down is black.
Click on "Inner Glow" in the "Styles" column at the left of the dialogue box. Set the "Blend Mode" to "Multiply" once again and set the "Opacity" to 20 per cent to begin. Click on the colour swatch at the bottom of the "Structure" section and select black as your colour by entering "000000" in the "#" field. Set the "Source" to "Center" and adjust the "Size" to five pixels in the "Elements" section of the dialogue box. Click "OK" when you have finished. Your text should now appear to be sunken into its background.
- Click on "Inner Glow" in the "Styles" column at the left of the dialogue box.
- Set the "Source" to "Center" and adjust the "Size" to five pixels in the "Elements" section of the dialogue box.
Select "File > Save As" from the application menu to save your work. Enter a new name and save location for the work and click "Save."
TIP
You can give an engraved look to text, making it appear to be sunken into a background image such as a stone or sky, by returning to the "Layers" palette and lowering the opacity of the text layer. Select the text layer from the palette and enter in a number below 100 in the "Opacity" field in the upper right-hand corner of the palette. You can also adjust the settings for visibility and intensity of the sinking effect by using different figures in the fields than those given in the steps. Experiment with different sizes and opacities to get the look that best fits your overall composition.
